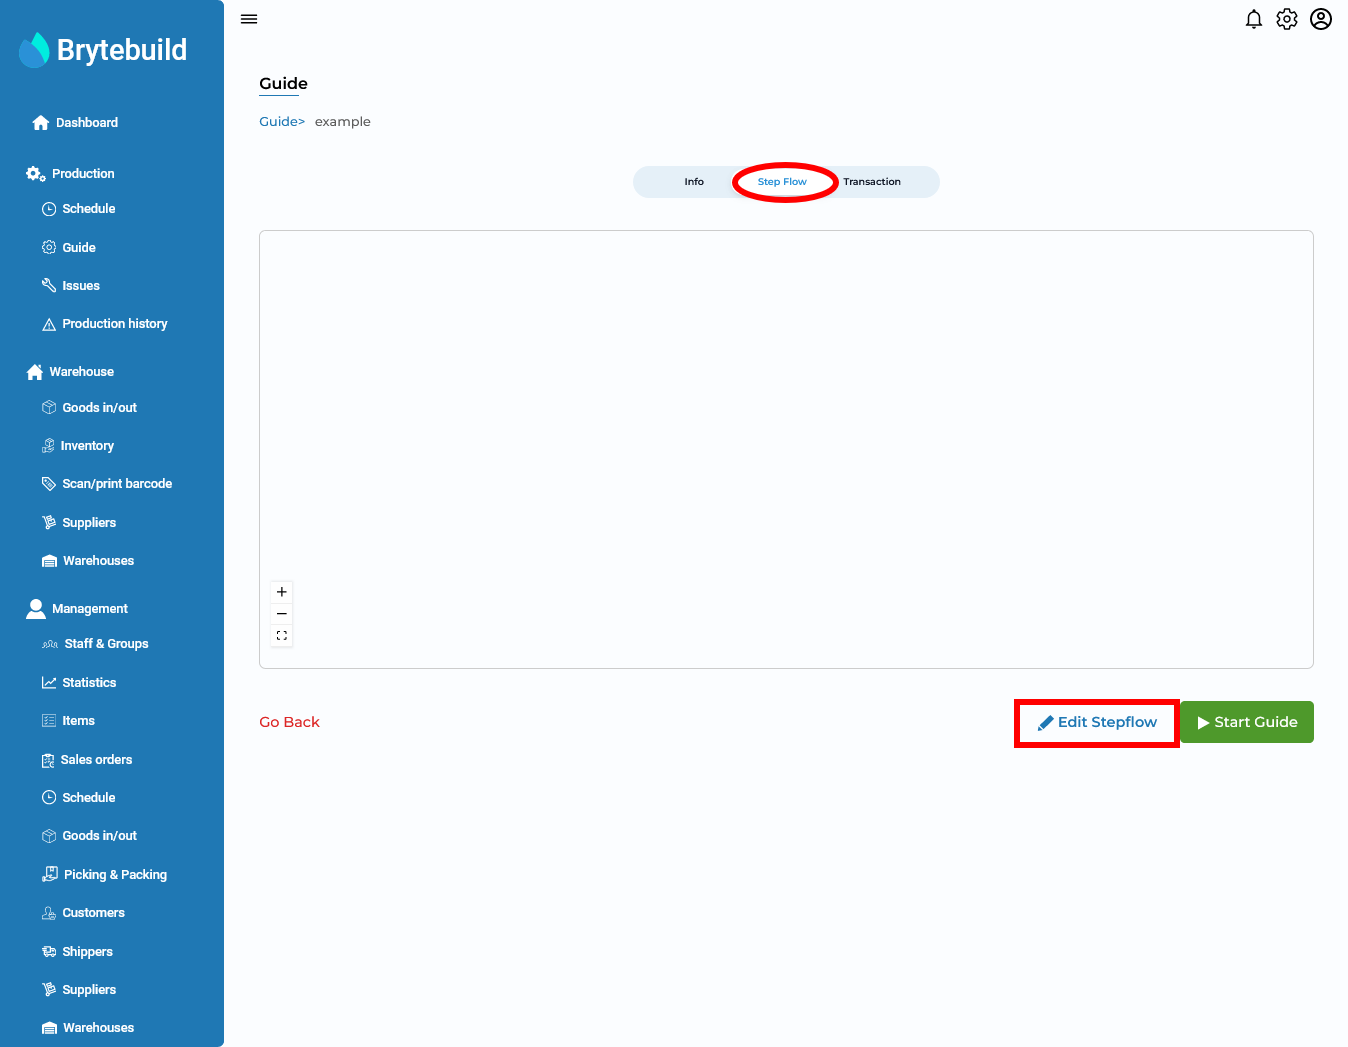
Step-by-step work instruction give user set of instructions to complete curtain job. Brytebuild allow user to make their own step-by-step working instructions. To design a step-by-step working instruction go to working instruction/guides details page , select stepflow tab and press edit stepflow.
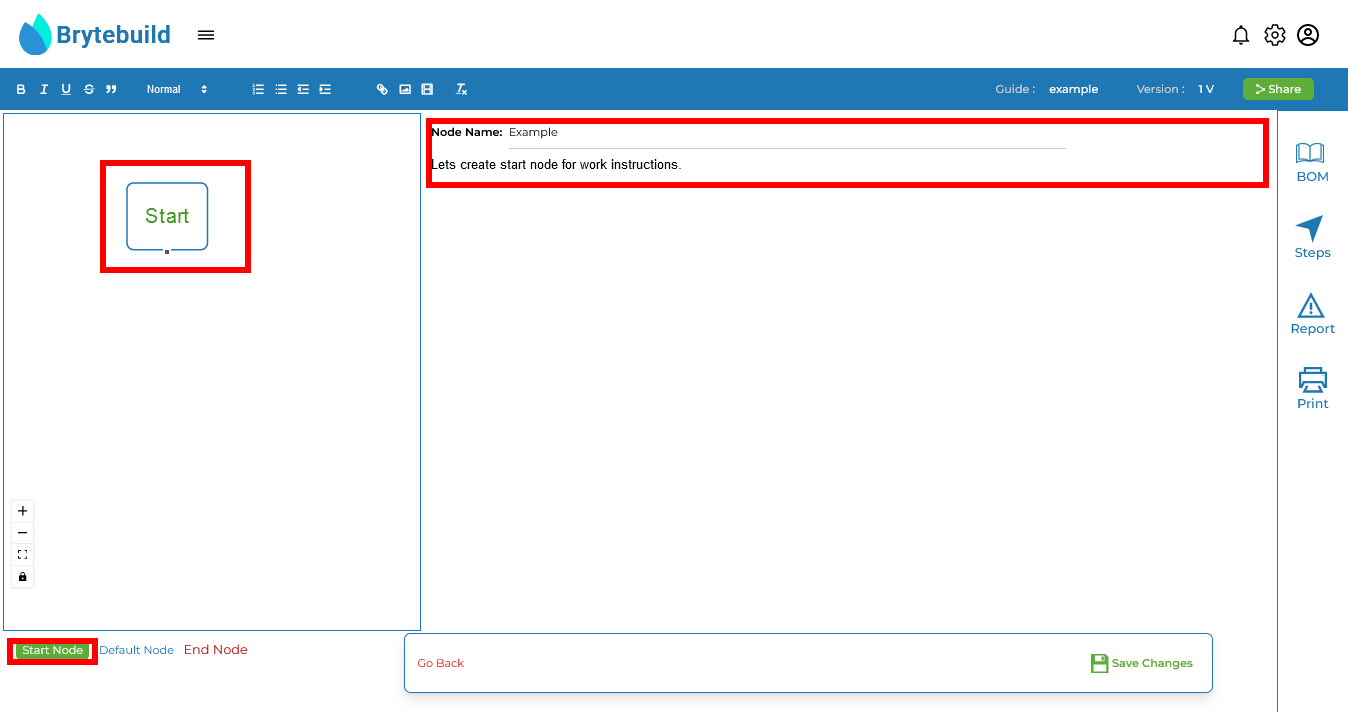
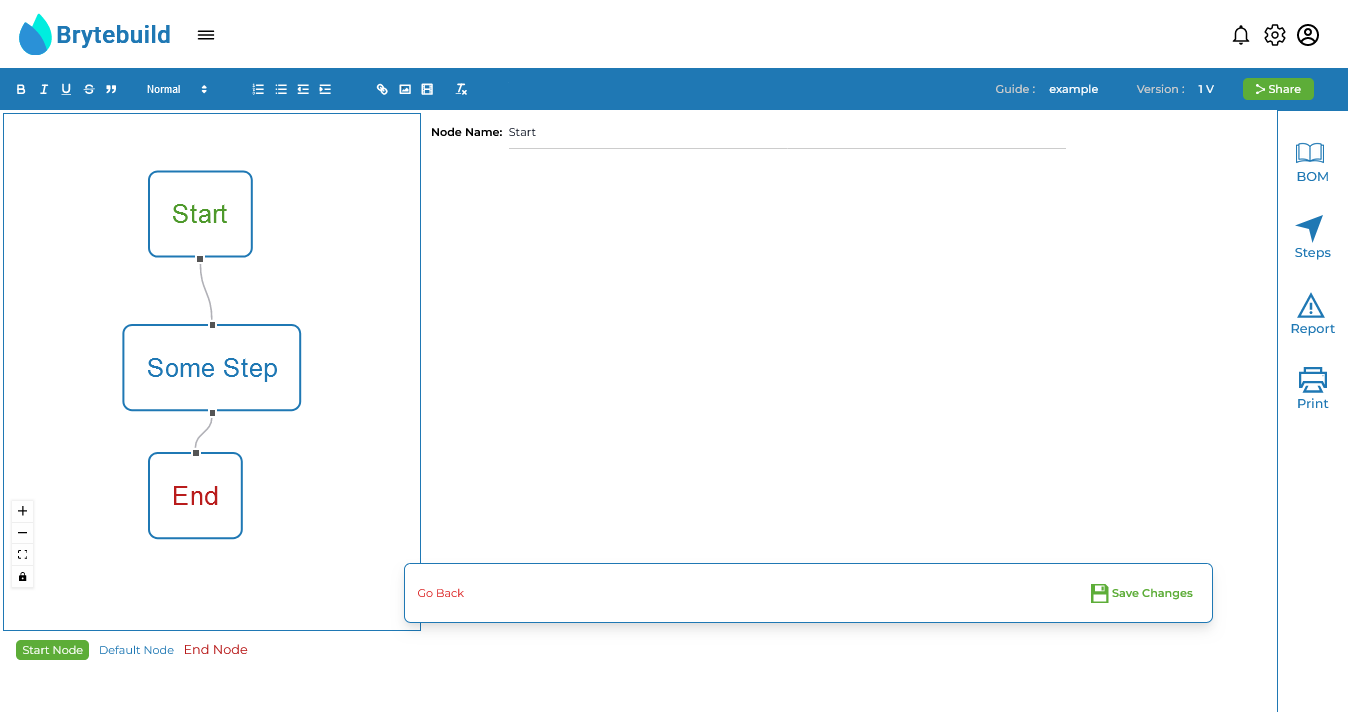
Lets start instruction by pressing start node. Then select start node and enter node name. You can also drop images by selecting image option from header.
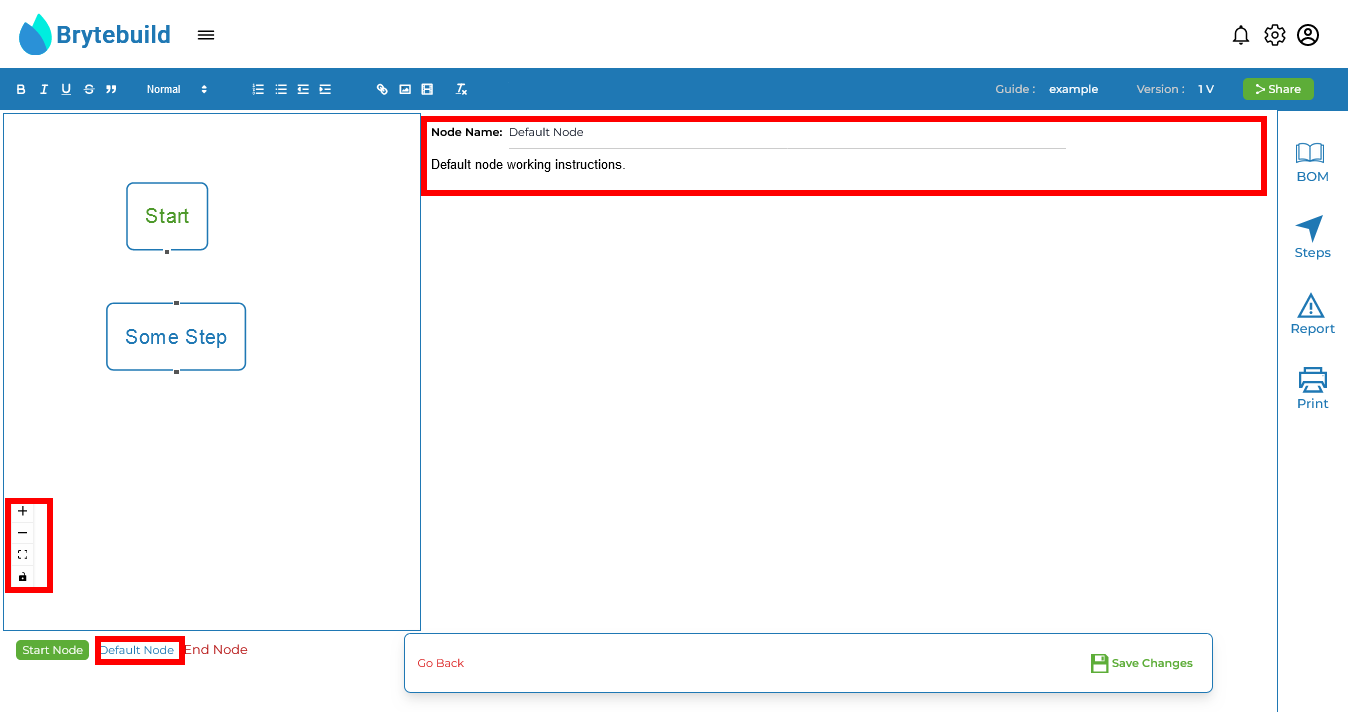
Now lets add another node using default node options. Next add information for default node. To move node select lock to unlock moving ability.
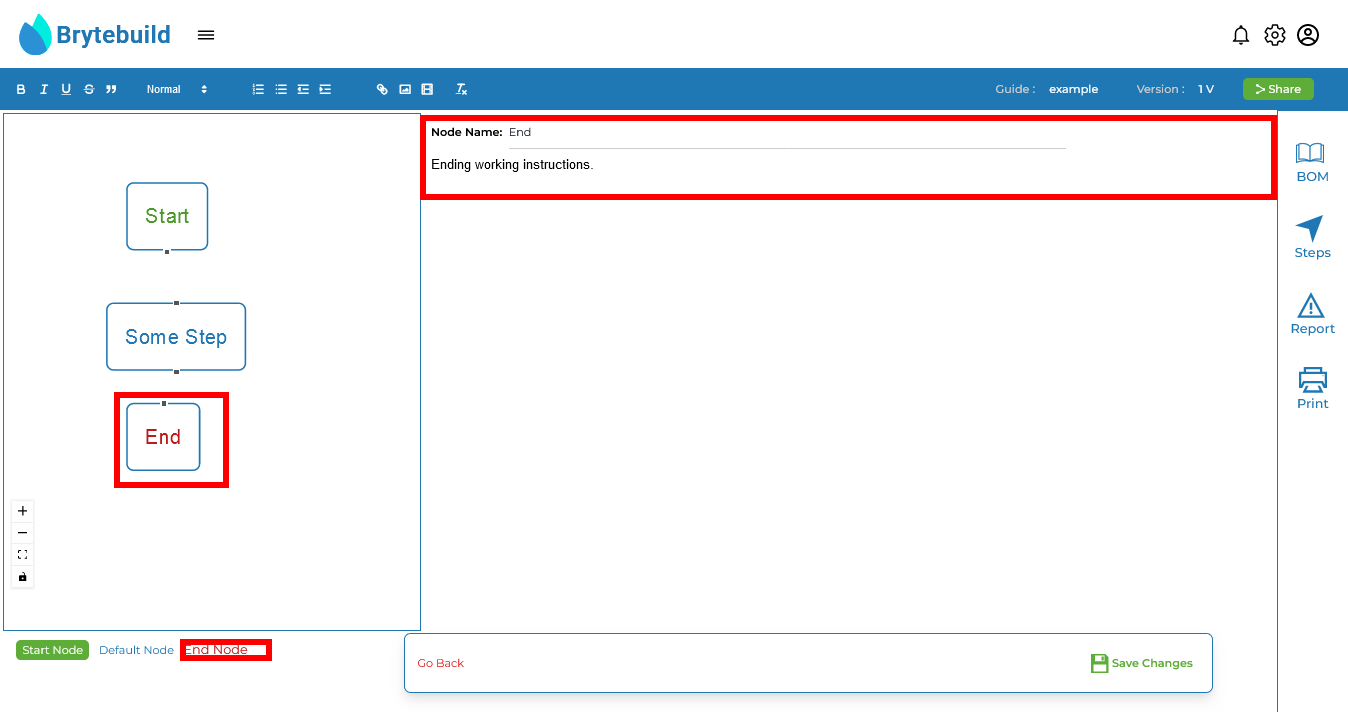
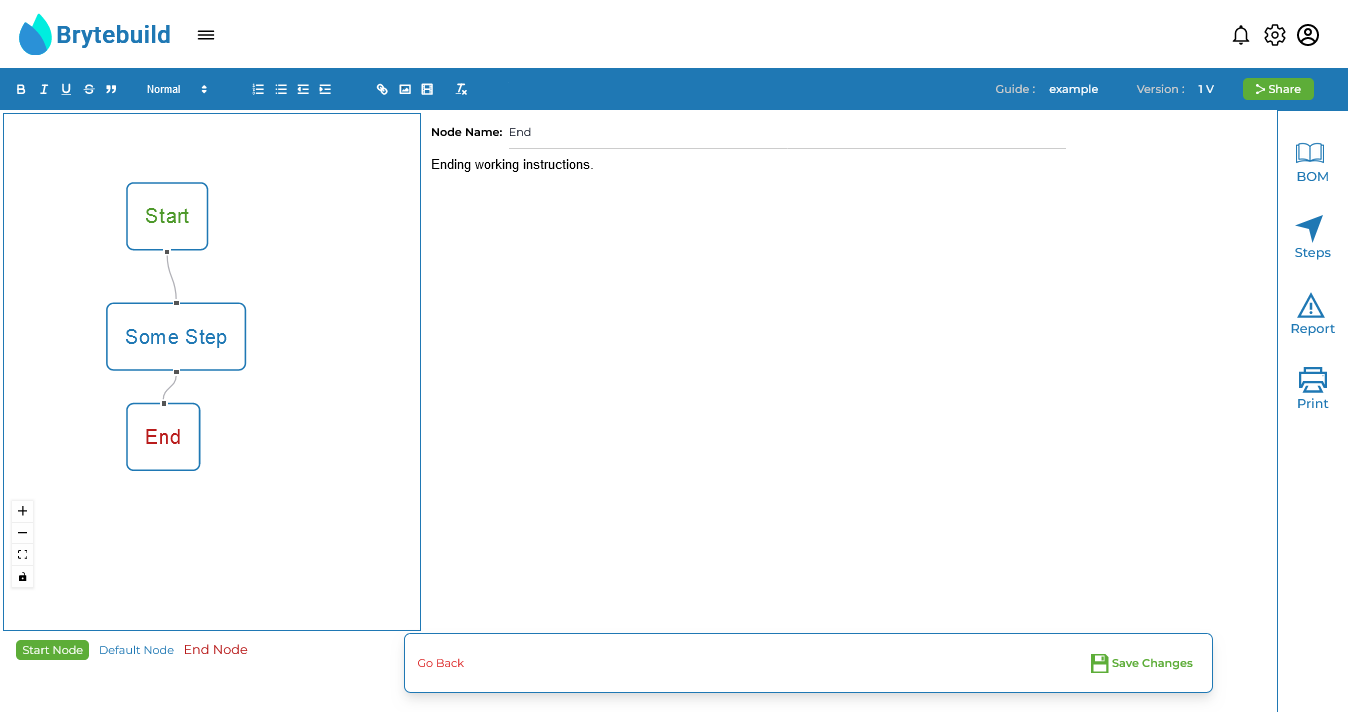
Now lets end this instruction with end node. Press end node and write its name and description.
Now it’s time to connect nodes with each other. To connect node click on dot of source node and drag it to destination node and drop it when shape of pointer become +.
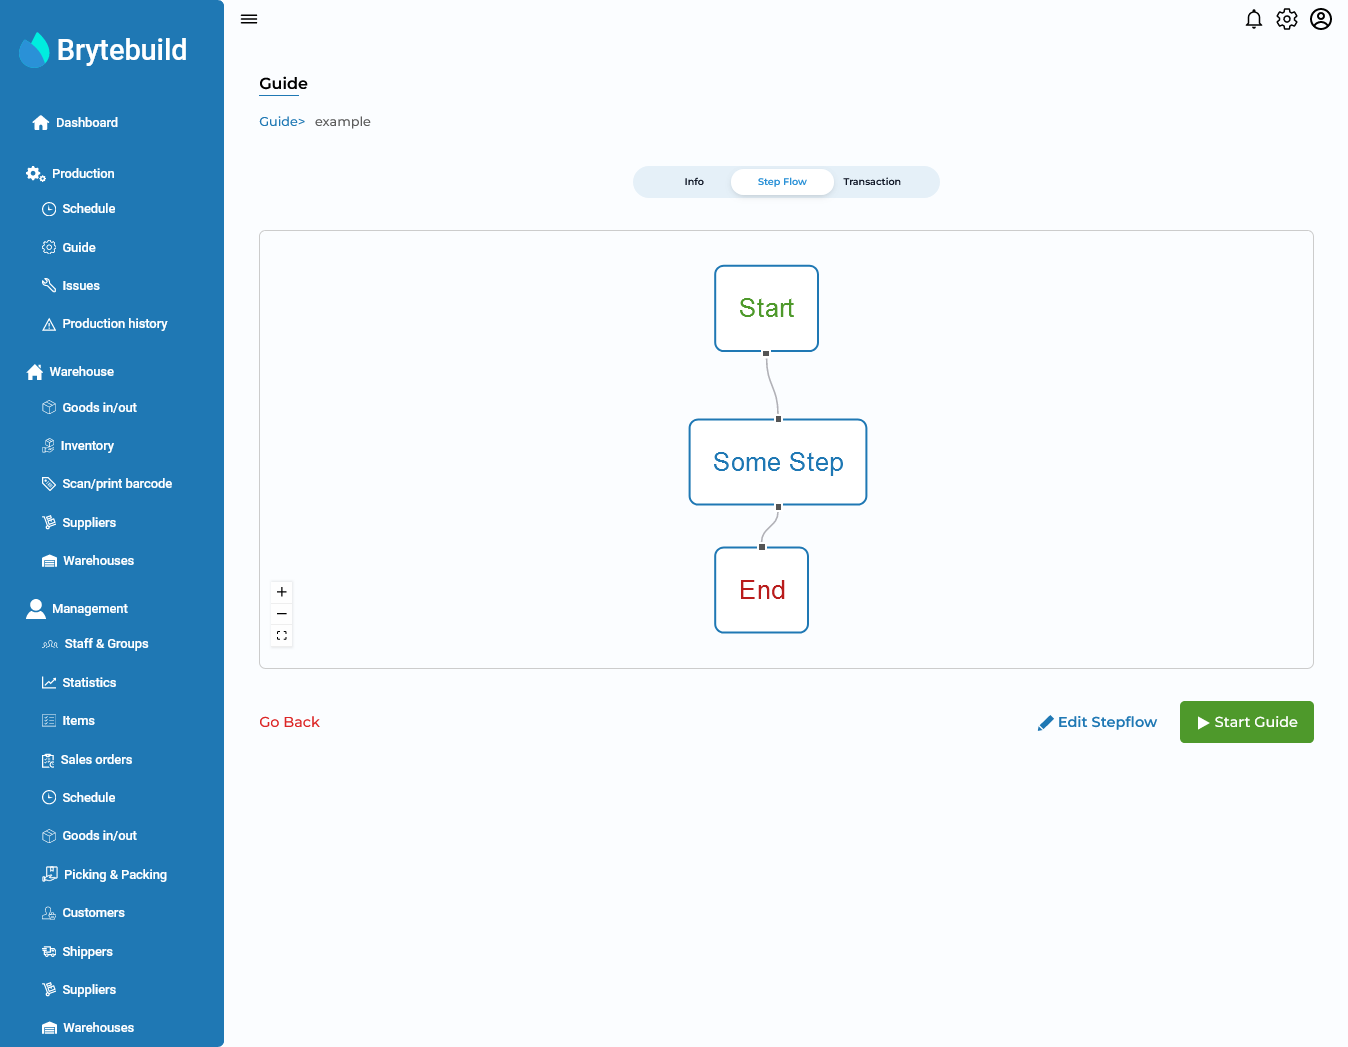
Save working instructions by pressing save changes. After saving your instruction you can see your instruction at stepflow tab of details page.
Now lets discuss what other options are used for in edit stepflow. BOM option is to see item that are attached. Steps option is to toggle steps on/off. Report is used to report issue. Print is used to print whole page