In an MRP system, various staff members play key roles in ensuring its effectiveness. In Brytebuild staff & roles page is used to add staff and assign them roles/permissions. After reading this page you will be able to understand how to add members, how to assign them group and how to enable/disable group permissions.
Add Member
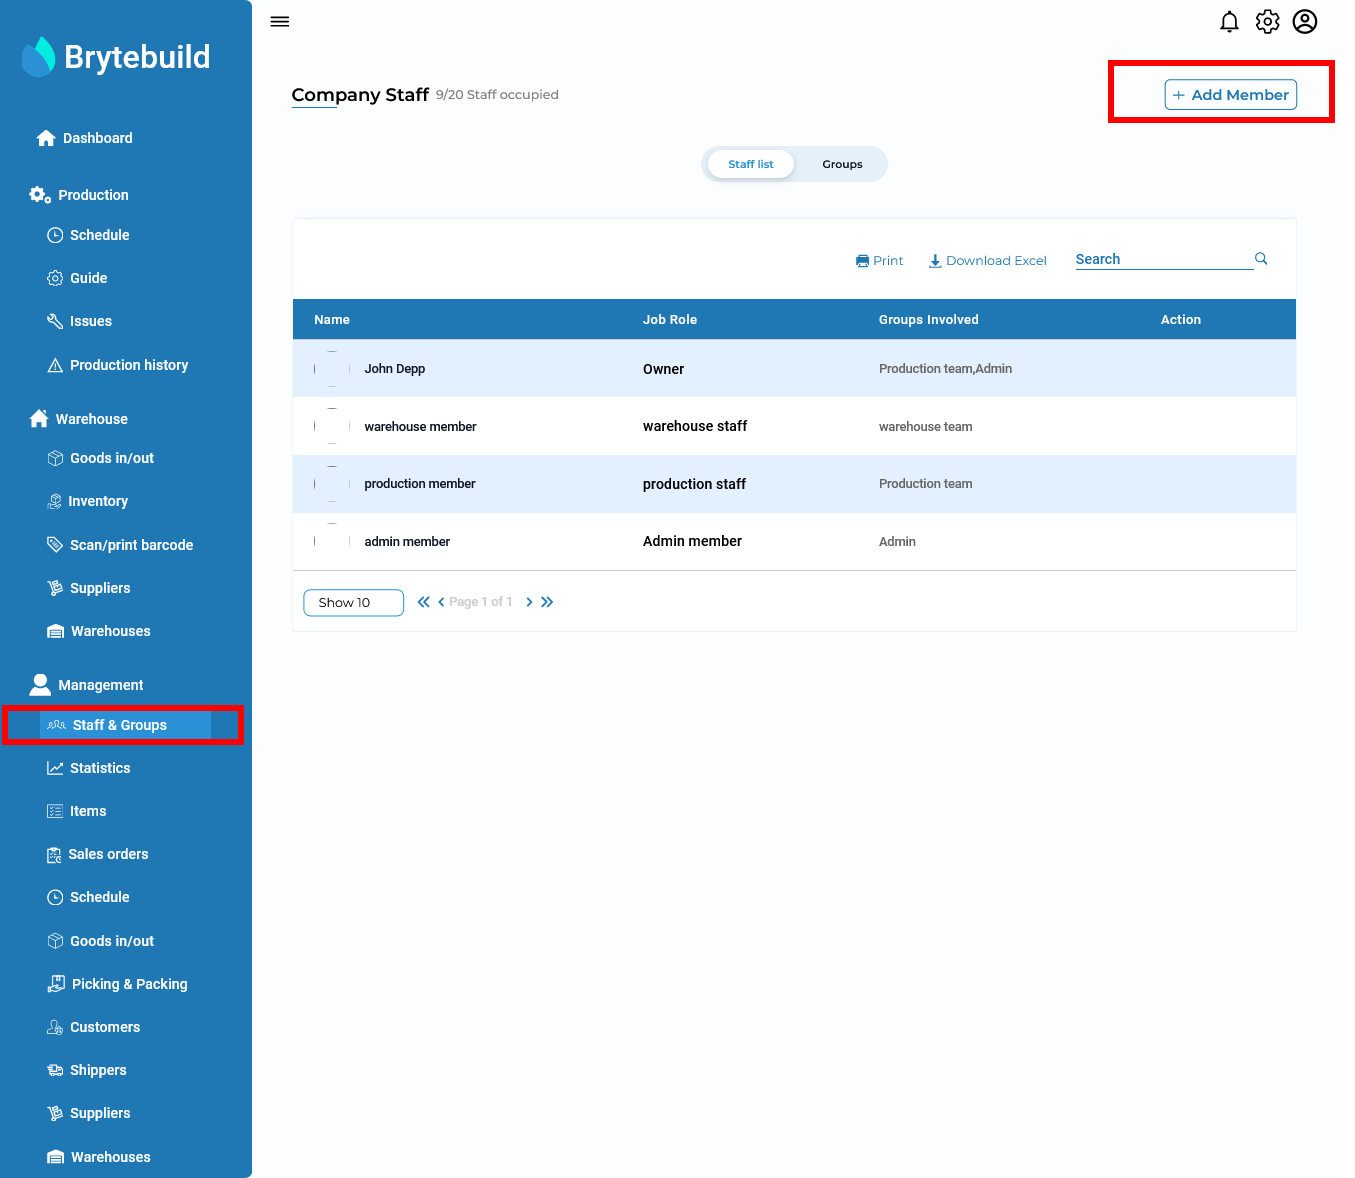
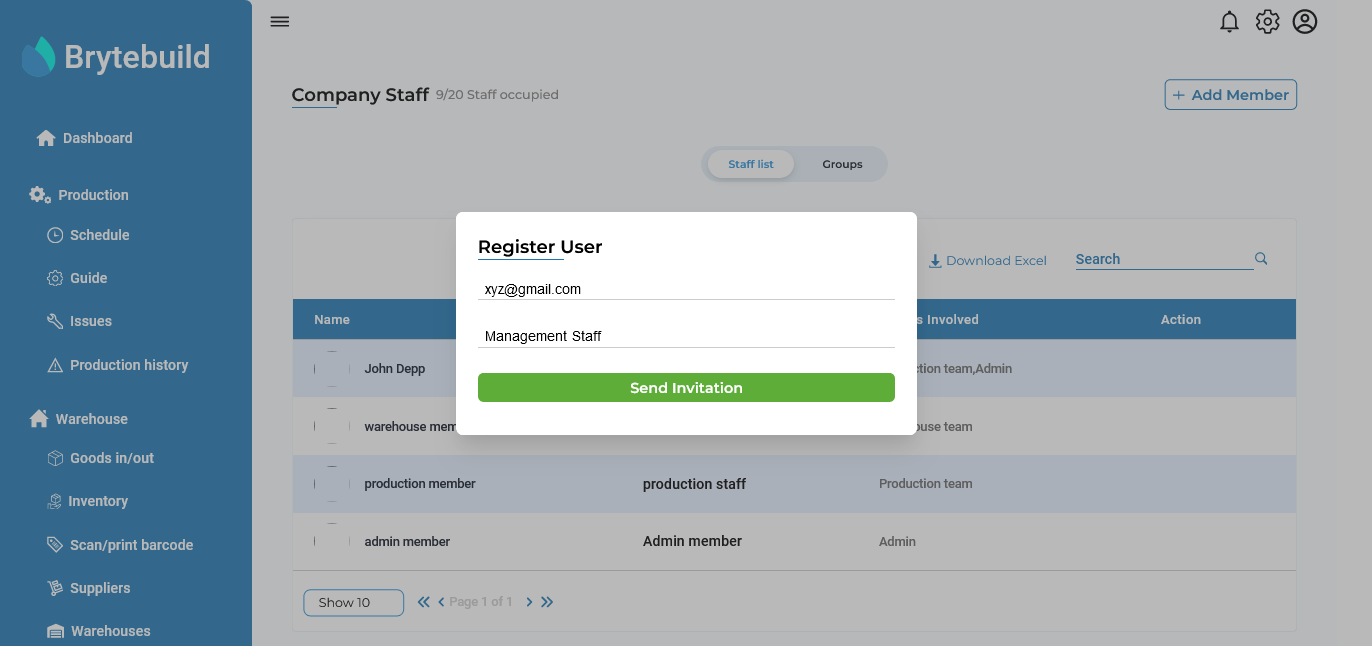
Lets first discuss how to add member/staff into your company. To add member into your company navigate to staff & groups page from your dashboard. Afterwards click add member which ask you to enter email id and job role of your member. After adding information, your member will receive invitation email. After your member accept it, your member will be added in your company.
Add Group
Group is used when you want to assign multiple members/staff same permission. Lets add our warehouse member to a new group “Management Team”.
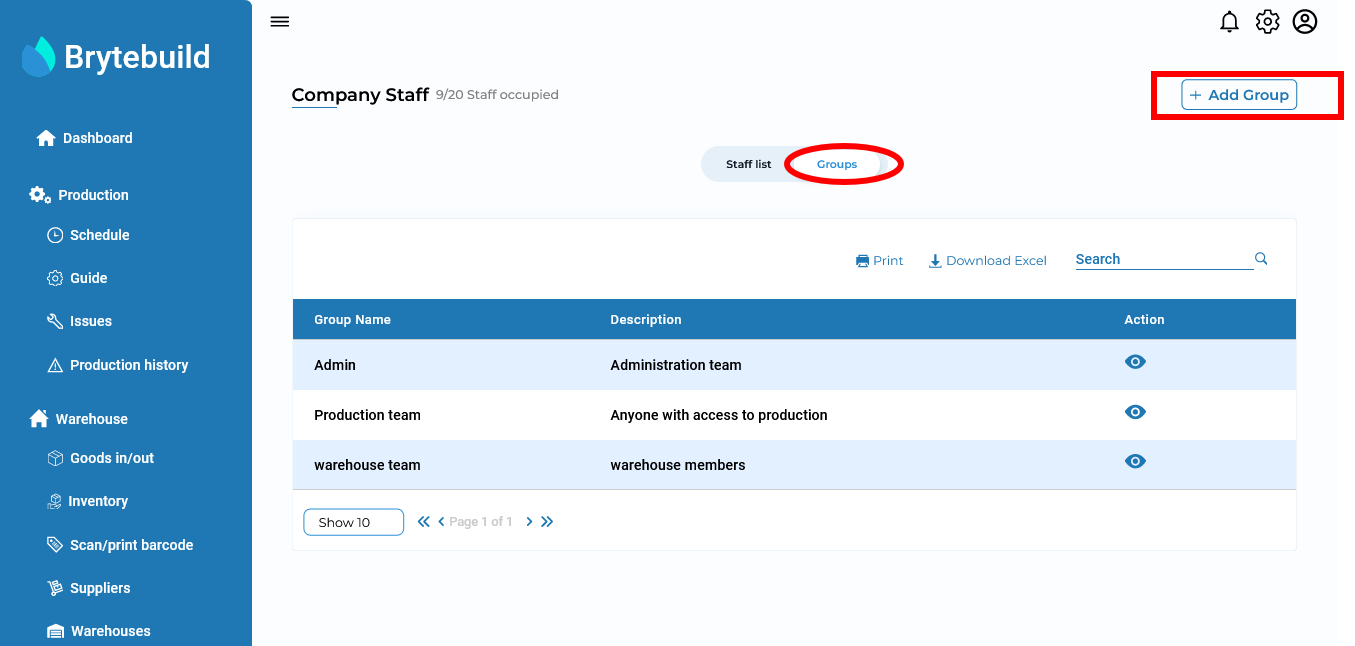
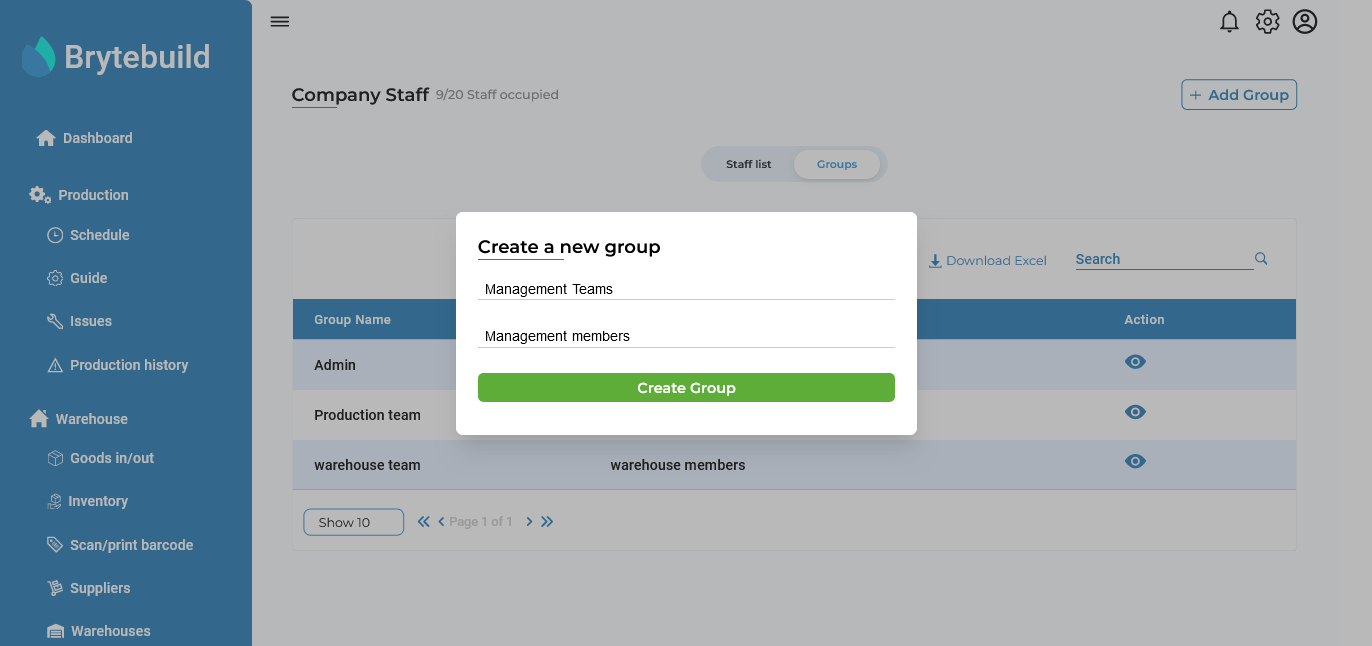
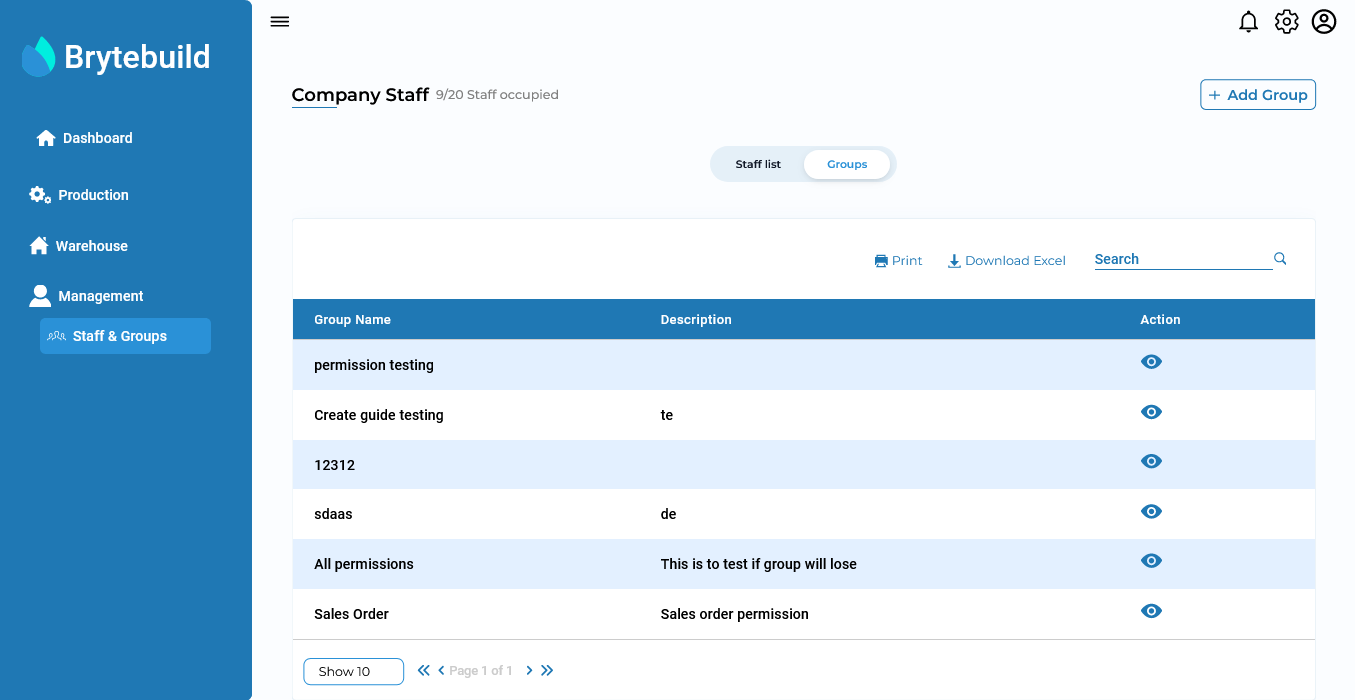
First we need to make a new group by simply go to group tab and press add group button and enter group name and description of group. Lets say we named that group “management teams”.
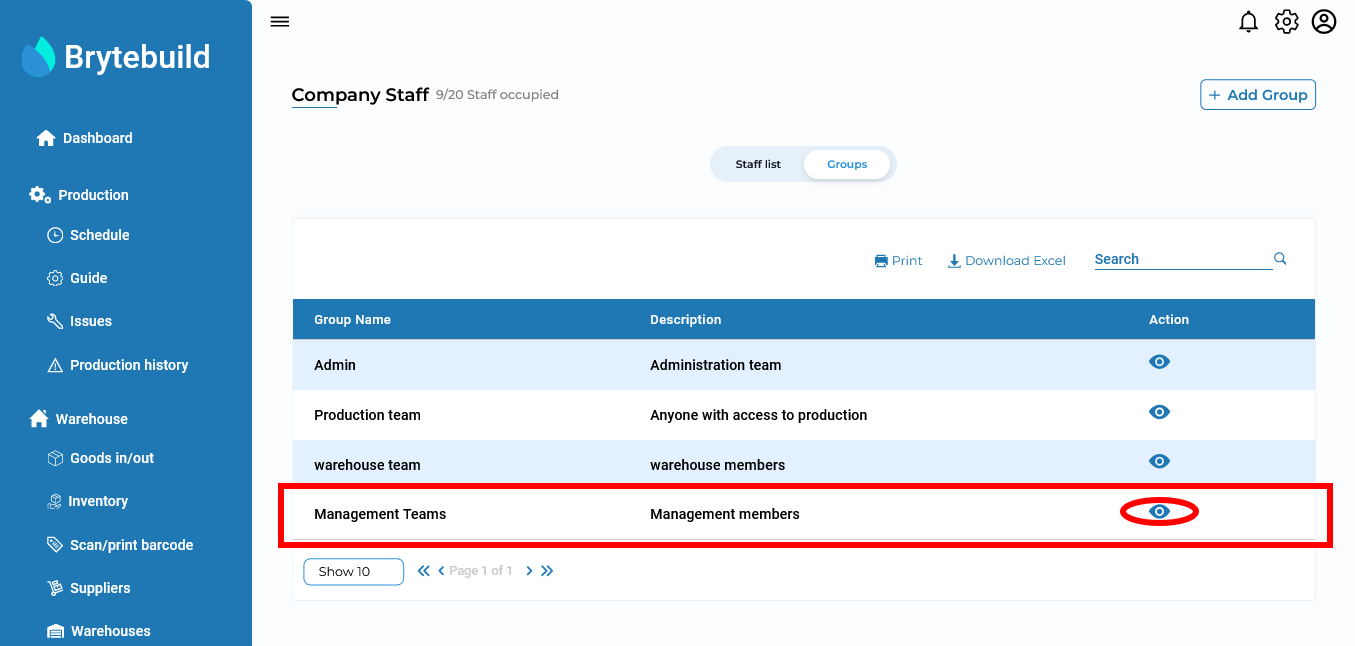
Now lets add our member to new group “Management Teams”. To add member to Management Teams groups simply press eye icon next to group name.
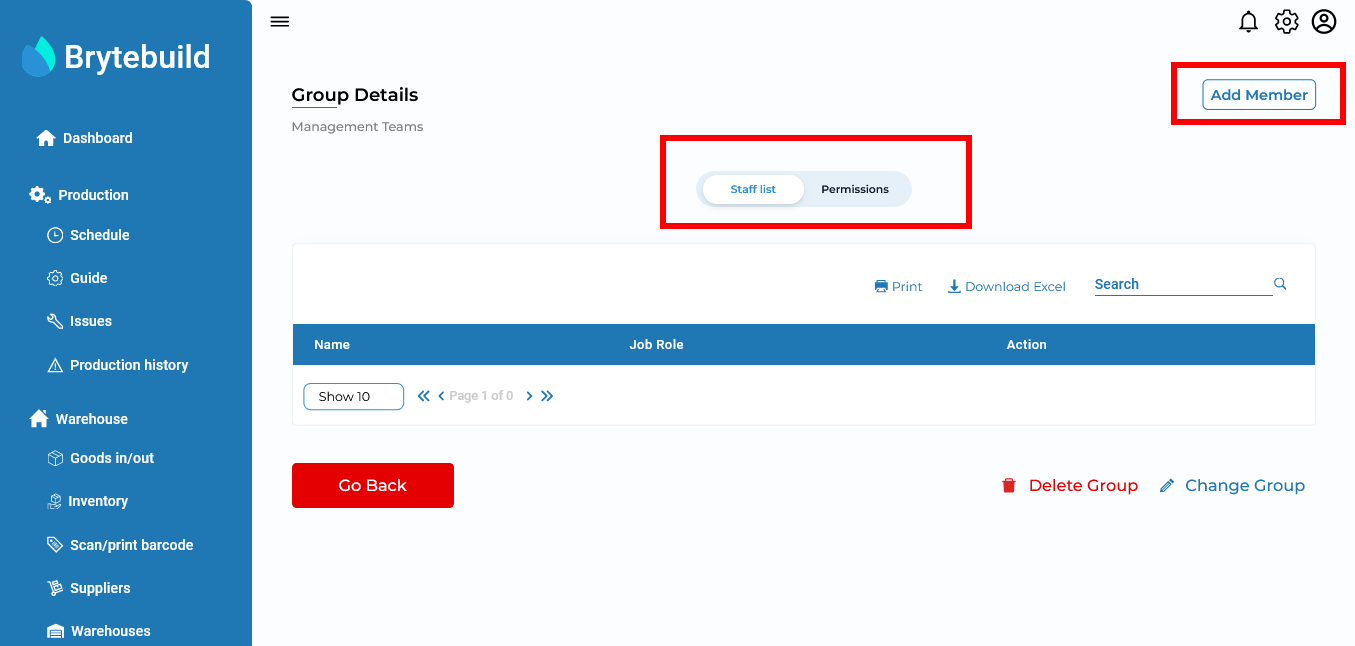
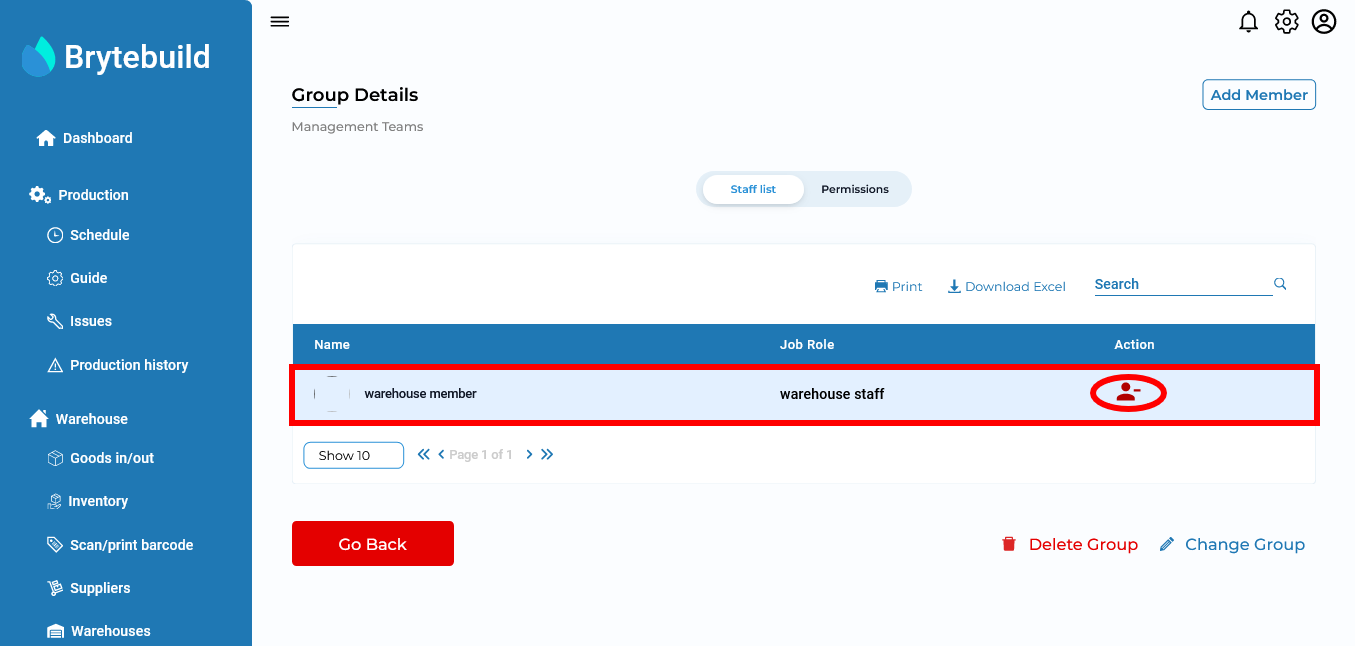
After clicking eye button you will be navigate to its group details page. Group details page consist of two tabs Staff List which will show you the staffs that are present in this group and Permission tab from where you enable/disable curtain permissions of group. We will talk about permission later in this page. For now lets add our member to group.
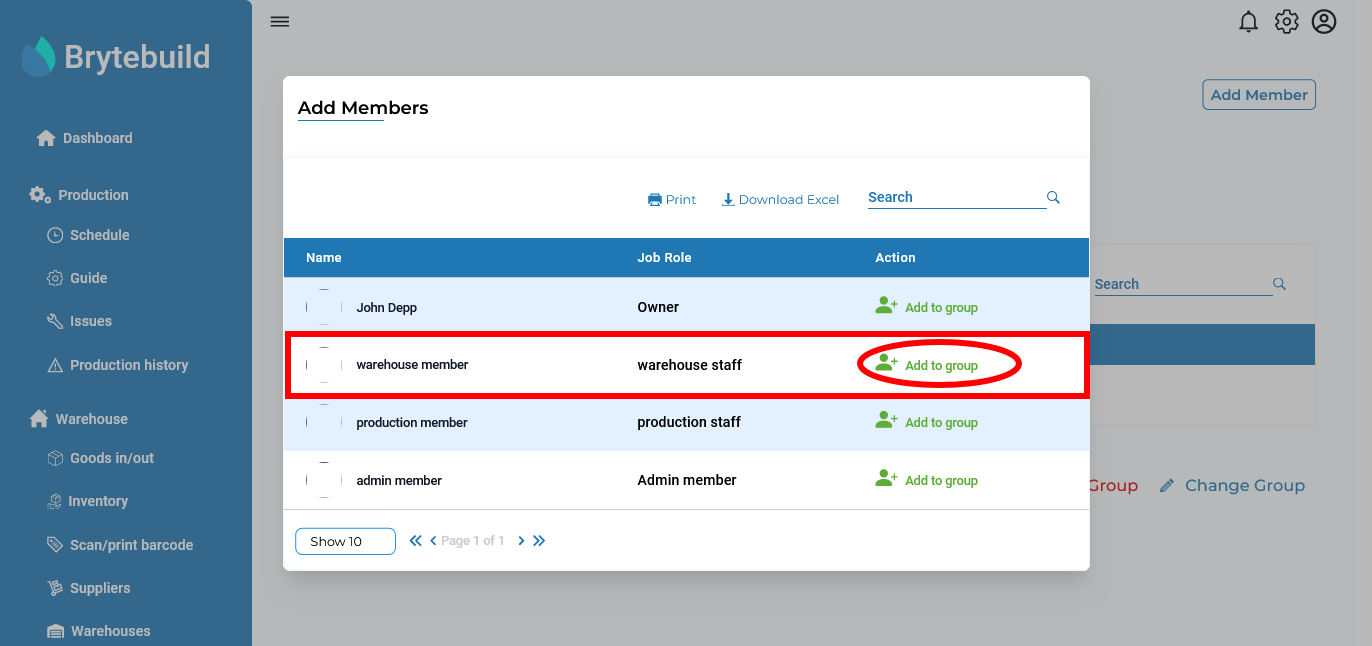
To add member to your group simply click on add member and select member you want to add. Let say we want to add warehouse member, we can simply add it by press add to group button next to its name.
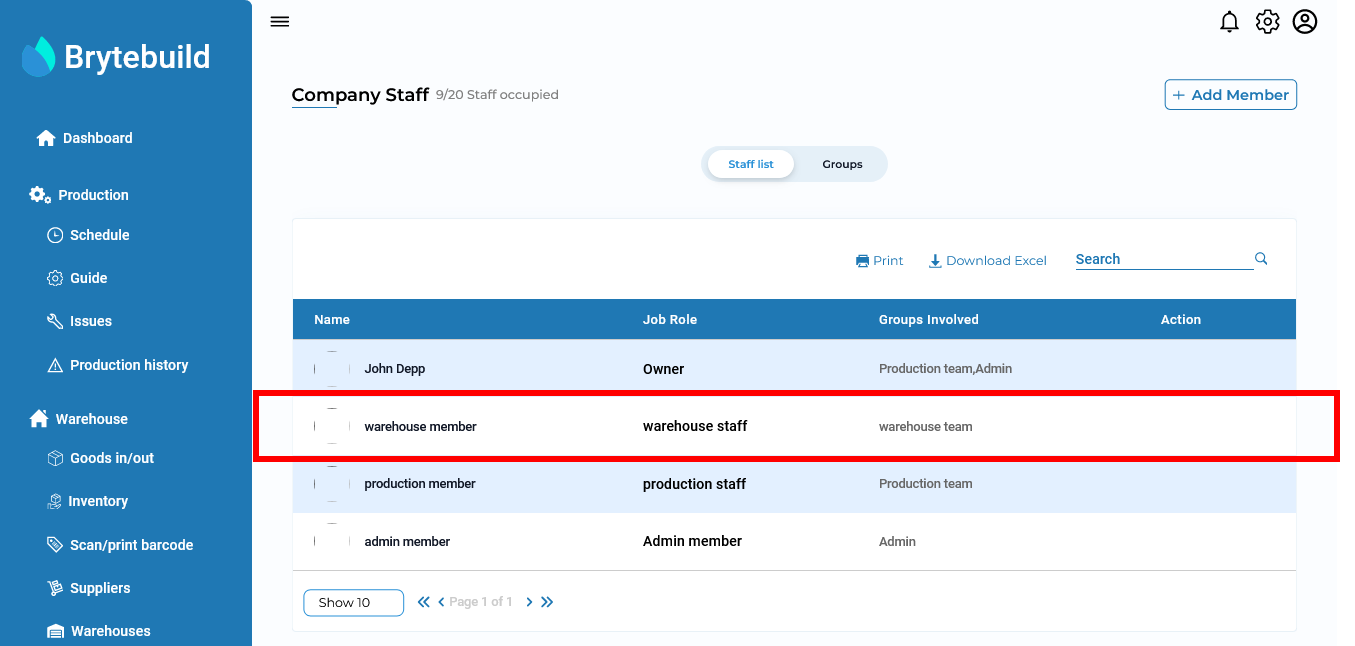
After adding warehouse member, warehouse member will be appear in staff list tab. From staff list tab you can also remove the staff.
Permissions
First lets discuss what are permissions?. In Brytebuild there are four type of permission for every page view, delete, add and edit. To understand all types of permission lets take an example of sales order page. If you disable view permission of sales order page then members of group will not able to view sales order page. As you see there is no sales order page visible in the dashboard.
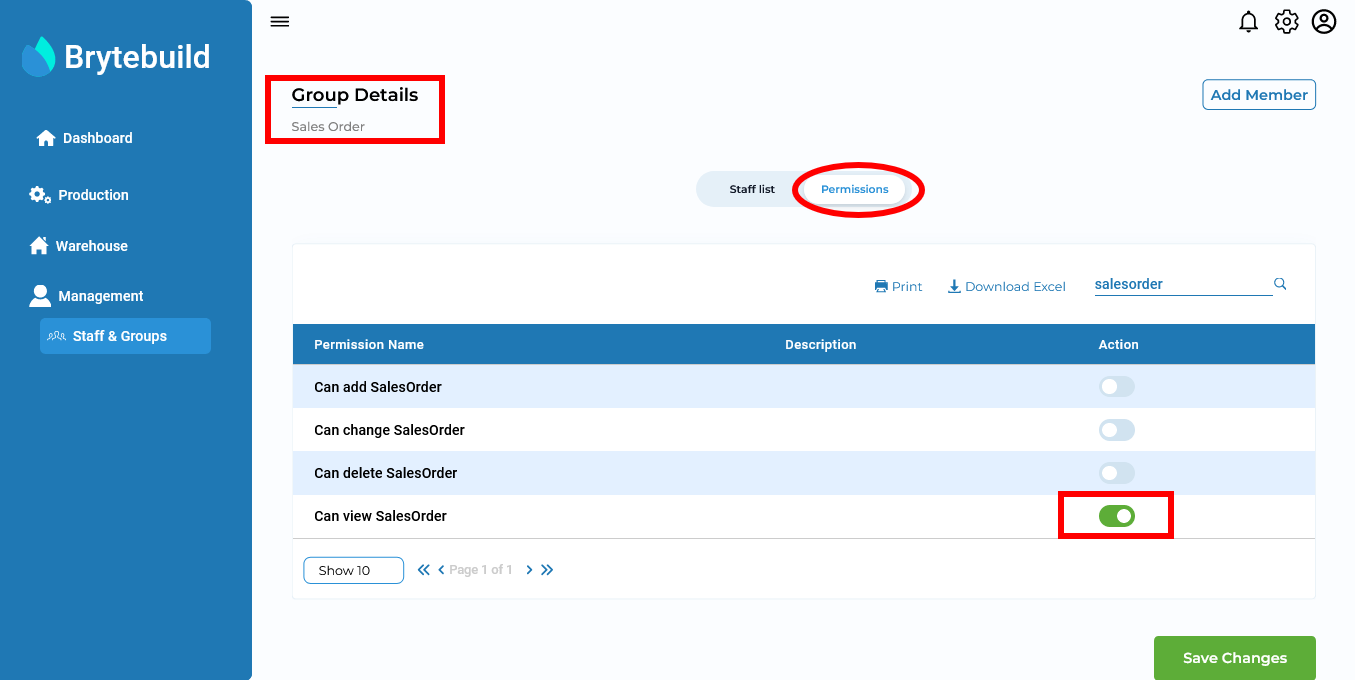
Now lets toggle view sales order permission back on. To toggle this permission back on go to staff & groups page, then go to groups tab and go to group details page in this case we are using sales order group. After going to sales order group details page lets head to permission tab and search for sales order permissions in the table. Lets toggle view sales order permission on and press save changes and see what happens.
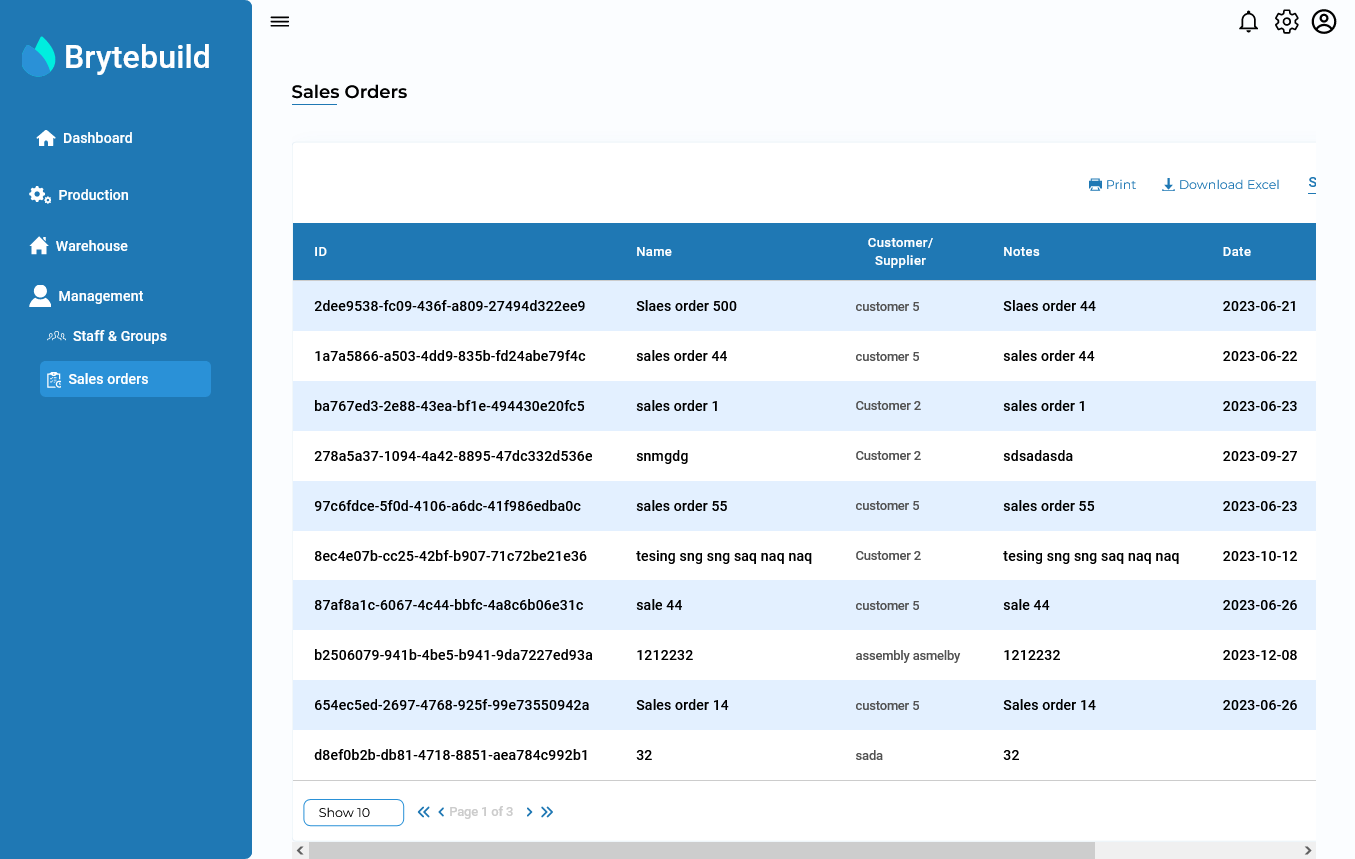
As you see now sales order page is visible in dashboard but there is no add sales order button this is because add sales order permission is disabled. In View sales order permission you can see all sales order and details of any sales order but you cannot add, edit or delete any sales order unless you have respective permissions.
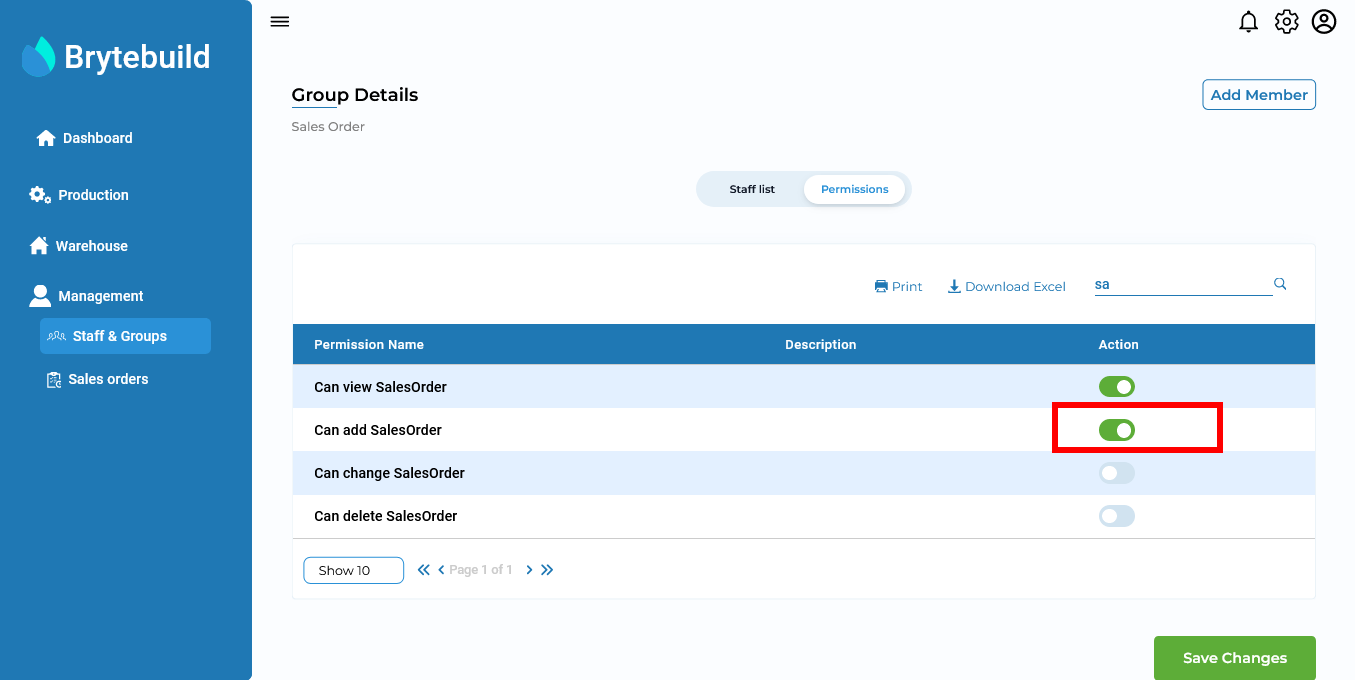
Now lets turn on add permission to see if we can add sales order or not. To turn sales order permission on we need to do same steps as we did for view permission.
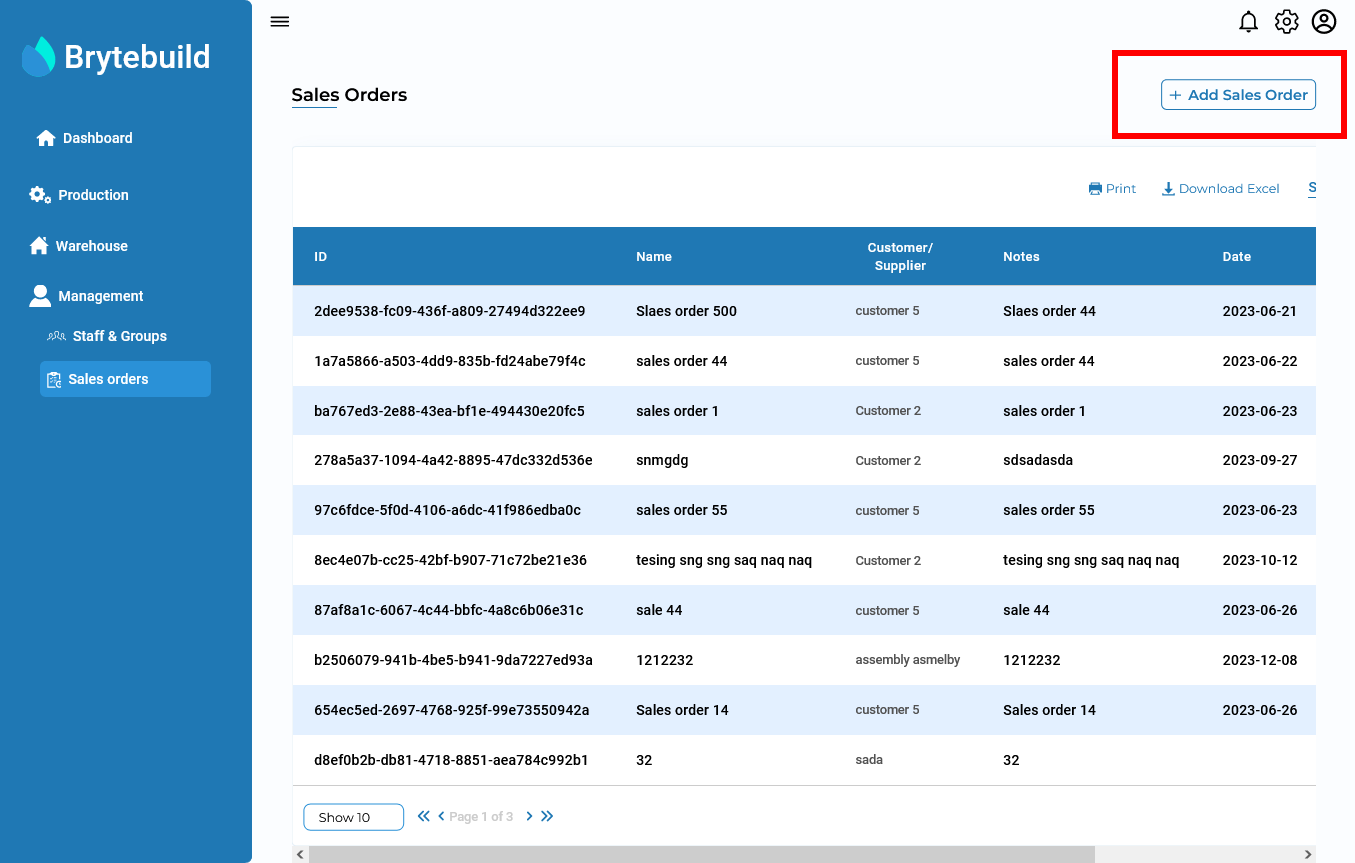
As you see now add sales order button is visible now you can add sales order.
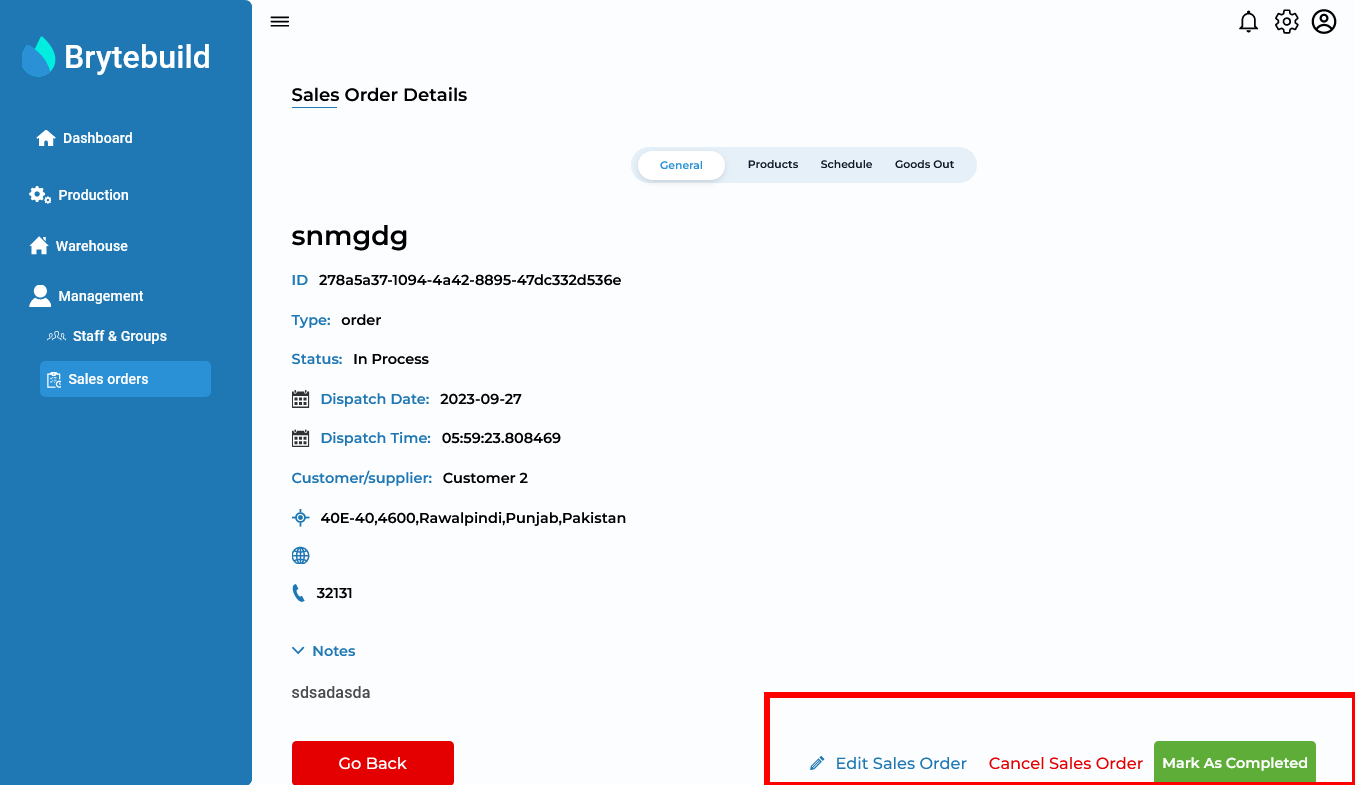
Now lets go to sales order details page. As you see there is no complete,cancel and delete button this is because edit and delete permissions are disabled. Now lets turn edit and delete permissions on.
After enabling delete and edit permission on
By this way you can assign any required permission to any groups you want.